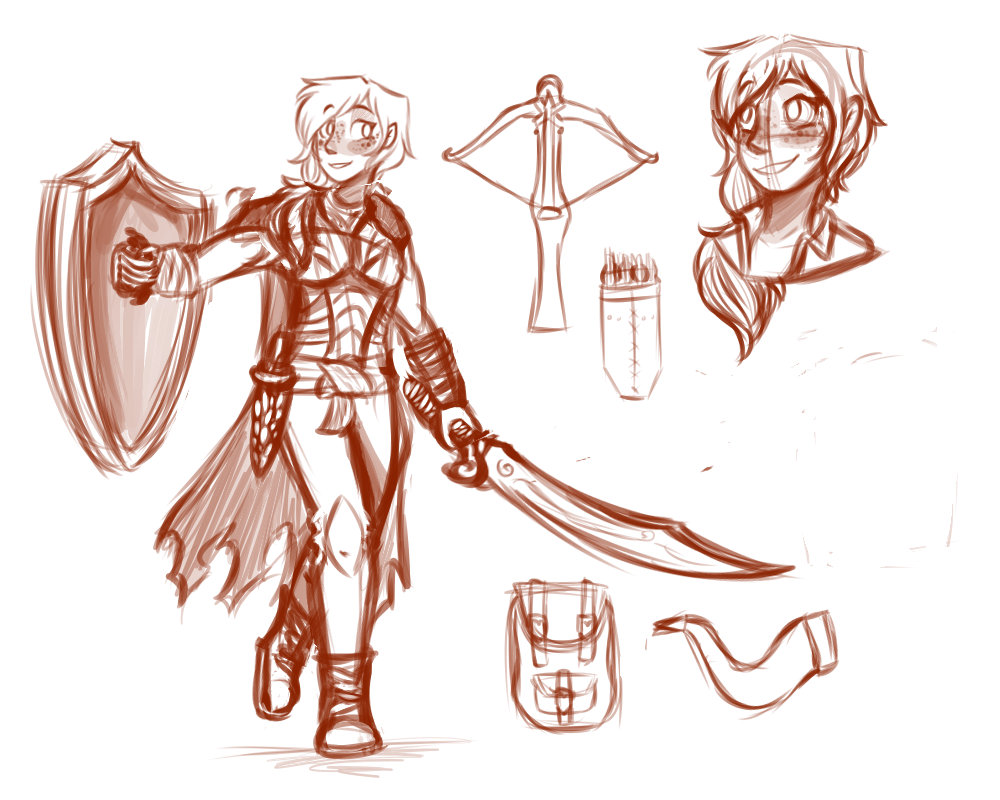
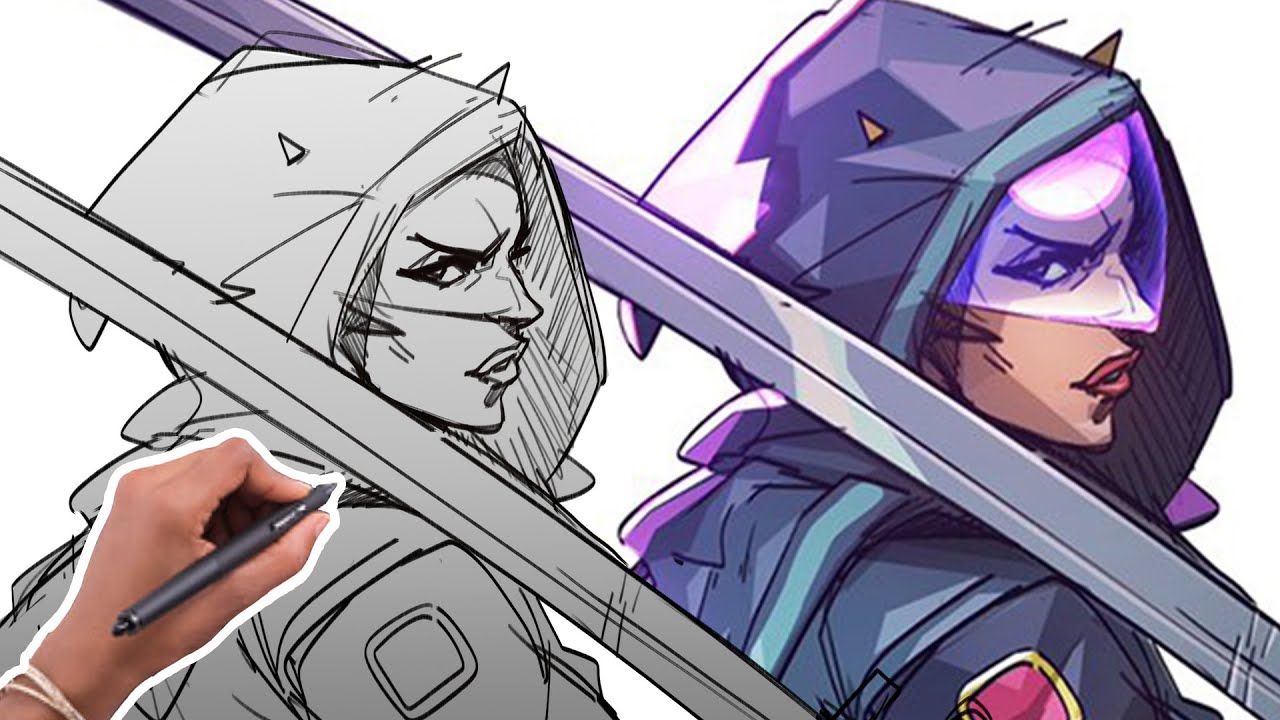
If you have ever wanted to draw a Dungeons & Dragons character – be it your own creation from your character sheet or one of the canon characters from the franchise – there are plenty of ways to go about it.
No matter what your skill level, art is something that can be enjoyed by everyone, and it can be a lot of fun as well as a cool way to bring your favorite characters to life in your own art style.
With this in mind, we are going to be taking a look at how to go about making your own D&D character art in various mediums. Let’s get started!
Choosing Your Medium
Before you start drawing, you need to decide how you are going to draw your character. Do you want to draw your character traditionally? Or maybe you would like to do some digital work for your character? There are many different options when it comes to how you choose to create your character, but first, let us take a look at traditional methods.
Traditional Art Methods
Traditional art relates to art that is made physically, such as with pens, pencils, paints, sketch pads, and any other physical art tools you might want to use. Traditional art is usually done using a variety of techniques including line drawings, color, shading, and so on.
It is also known as “hand-drawn” art because it requires the artist to actually use their hands to make marks. This type of artwork is often used to convey emotion or mood, which makes it perfect for fantasy settings where magic and monsters abound.
Digital Art Methods
Digital art refers to art that has been created digitally, as the name suggests!
That means that instead of making marks on paper with a pen, pencil, paintbrush, or whatever else, you are doing it all on a computer screen, be it a smartphone, tablet, or desktop computer.
You may be able to see your image before you even begin drawing, but once you do begin, you will be working within an editing program to manipulate your image until you are happy with it.
When you are finished, you can then save it to your hard drive or send it off to print. This method allows artists to work faster, since they don’t have to worry about wasting time waiting for their work to dry after every stroke.
Now that we have looked at the two methods of creating your character, we are going to go through some steps that you can take when it comes to drawing out your character. These rules can technically apply to both traditional and digital art, but remember that both methods have their differences.
How To Draw D&D Characters
Step 1 – Sketching Out Your Character
Before you actually start sketching out your character, you should first decide who they are. This will help you figure out where their body parts should be placed and also give you an idea as to what kind of pose they should be in.
For example, if you were planning on making a human wizard, you might want to think about which hand he would use to cast spells with. If you already have a character sheet full of information, then you already have a pretty excellent starting point to work from.
Once you’ve decided on your character’s basic appearance, you’ll need to determine what type of armor they wear (if any) and what weapons they carry. You may also want to consider what kind of hair color they have and what kind of facial features they have. All of these things will affect the way your character looks when drawn, so take time to think about them before beginning.
Once you know what your character looks like, you’re ready to begin sketching! If you are an absolute beginner, it might initially be easier to simply freehand draw your character using pencil and paper.
Try not to worry too much about getting every detail perfect right away; instead just focus on getting the general shape down. It’s better to err on the side of having more than enough details rather than less.

Step 2 – Drawing In Details
Now that you have a rough outline of your character, you can move on to adding in all the finer details. Start by deciding where each part of your character should be located. Make this as normal or as crazy as you so choose!
Next, add in the details of your character’s face, such as their eyes, nose, mouth, ears, etc. Depending on what kind of character you’re drawing, you may want to add in clothing details, such as belts, boots, hats, jewelry, etc., or other unique features such as pointed ears, horns, or facial hair.
Step 3 – Adding Color
At this point, you can decide whether, or not, you’d like to add color to your character. There are many different ways to do this depending on what kind of effect you’d like to achieve. When it comes to traditional coloring, you can use crayons, colored pencils, watercolors, pastels, oil paints, acrylic paint, etc.
You can actually combine both traditional and digital methods when it comes to coloring your character if you sketch out your character on paper, scan it and then color it digitally. If you prefer to use only one method, feel free to go ahead and color your character directly from a scanned image.
If you plan on coloring your character digitally, there are various programs that you can use, such as Photoshop, GIMP or Procreate. Let’s take a look at these three programs:
Photoshop
In Photoshop, you can create layers for each different area of your character. Each layer represents a separate section of your character. For instance, if you wanted to put a hat on top of your head, you would create a new layer called “hat” and then paint the hat onto that layer. After doing this, you can apply filters to your hat layer to change its color or style.
GIMP
GIMP is similar to Photoshop, but it doesn’t come with a lot of pre-installed tools. However, you can download additional plugins that allow you to perform certain tasks. These include creating custom brushes, working with layers, applying textures, etc.
Procreate
Procreate allows you to import images from your camera roll or photos app. This means that you can easily access all of your pictures without downloading anything extra. You can also save your drawings as PNGs, which makes it easy to share your creations online.
Once you’ve created your character, you can start adding in colors. Here are some tips to help you along the way with digital coloring:
- Use a photo editing program to find colors that match your character’s skin tone.
- Apply a gradient to your character’s clothes.
- Add a splash of color to your character’s hair.
- Use a brush tool to draw over your character’s skin. Be careful not to erase any of the lines underneath.
- When painting over areas of your character’s body, try using a soft brush so that you don’t accidentally erase any of the lines.
- Once you’re done, you can export your final piece in JPG format.

Final Thoughts
Drawing characters isn’t always an easy task. It takes practice and patience to get good at it. The best thing you can do is keep practicing until you reach your goals. Once you’ve mastered the basics, you’ll be able to tackle more complicated projects.
There are countless other ways to draw and color your characters, but hopefully this guide has given you enough information to get started!
Good luck and have fun bringing your Dungeons & Dragons character to life!


